Map files & packages
The best way to get the map into rocket league at the moment is probably by saving it as Labs_Underpass_P.upk in CookedPCConsole folder and freeplaying in underpass. Make sure you back up the original first though. Also back up your own map as well so you don’t accidentally overwrite or delete it.
When you’re keeping the map as underpass, you don’t have to mess with the files at all between testing. Only when you want to change the map. Just load the map directly into UDK, click save current and boom! Launch Rocket League. You can keep the map open in UDK and RL at the same time, but you can only save it if you haven’t opened underpass yet in RL. The reason we’re using underpass is because you don’t have to switch it back when you want to play online playlists. If you were using Park_P for example and left your custom map in, you’d get a 15 min ban when getting beckwith park in competitive.
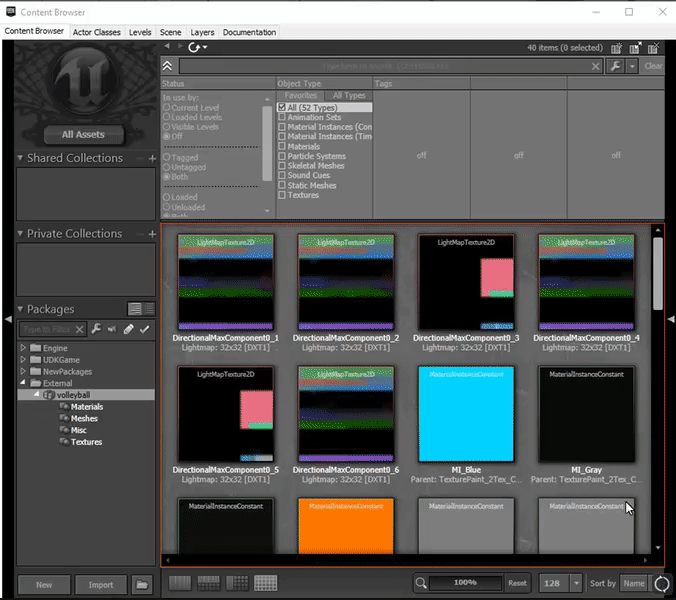
If you didn’t know already, you can (and should) import meshes, textures or create assets directly inside your level package. This is how you should be storing assets as it’s the only thing that works with workshop and you don’t need to mess with any extra files. Also you can ignore the Mods.upk (Universal UPK package), you don’t need that. If you need a sticky walls physical material, just create a new one inside the level package.
You need to be careful though. Every time you build all or reload UDK, any unused assets (meshes, textures, etc) in the level package will be gone. An easy tip to get around this would be to
- Right click an asset and copy the name into clipboard
- Go into kismet and create a new object variable
- Paste the value into it This way UDK thinks it’s being used and it won’t get deleted. I like to use groups to keep everything organized, they function like folders. To use them, on asset import or move, just select the group that you want or create a new group.
Building all
You don’t actually need to build all before saving. This was a common practice back when people were still using UDK brushes. Building lighting is still a thing if you’re going with static lighting and you can build AI paths to make player spawns work.
Actor Classes
You will often need to add a special kind of actor such as boost pad TA, or Player Start TA (Going over all of them later). To add this kind of actor, open up the Actor Classes tab right next to the Content Browser, search it and select it. Now that it’s selected, drag it into the viewport.
Properties
Let’s say I want to attach an actor into another by going into the properties -> Attachment -> Base.

You will first need to lock the properties from the lock icon, select the parent actor and then press the green arrow in the locked properties. The same technique can be used to set the mesh, physical materials for materials for example, but only by selecting the target from the content browser instead of the viewport.

The magnifier takes you to the target and the square clears the property.